Table of Contents
Benefits of Using a Can Sealer for Food Preservation
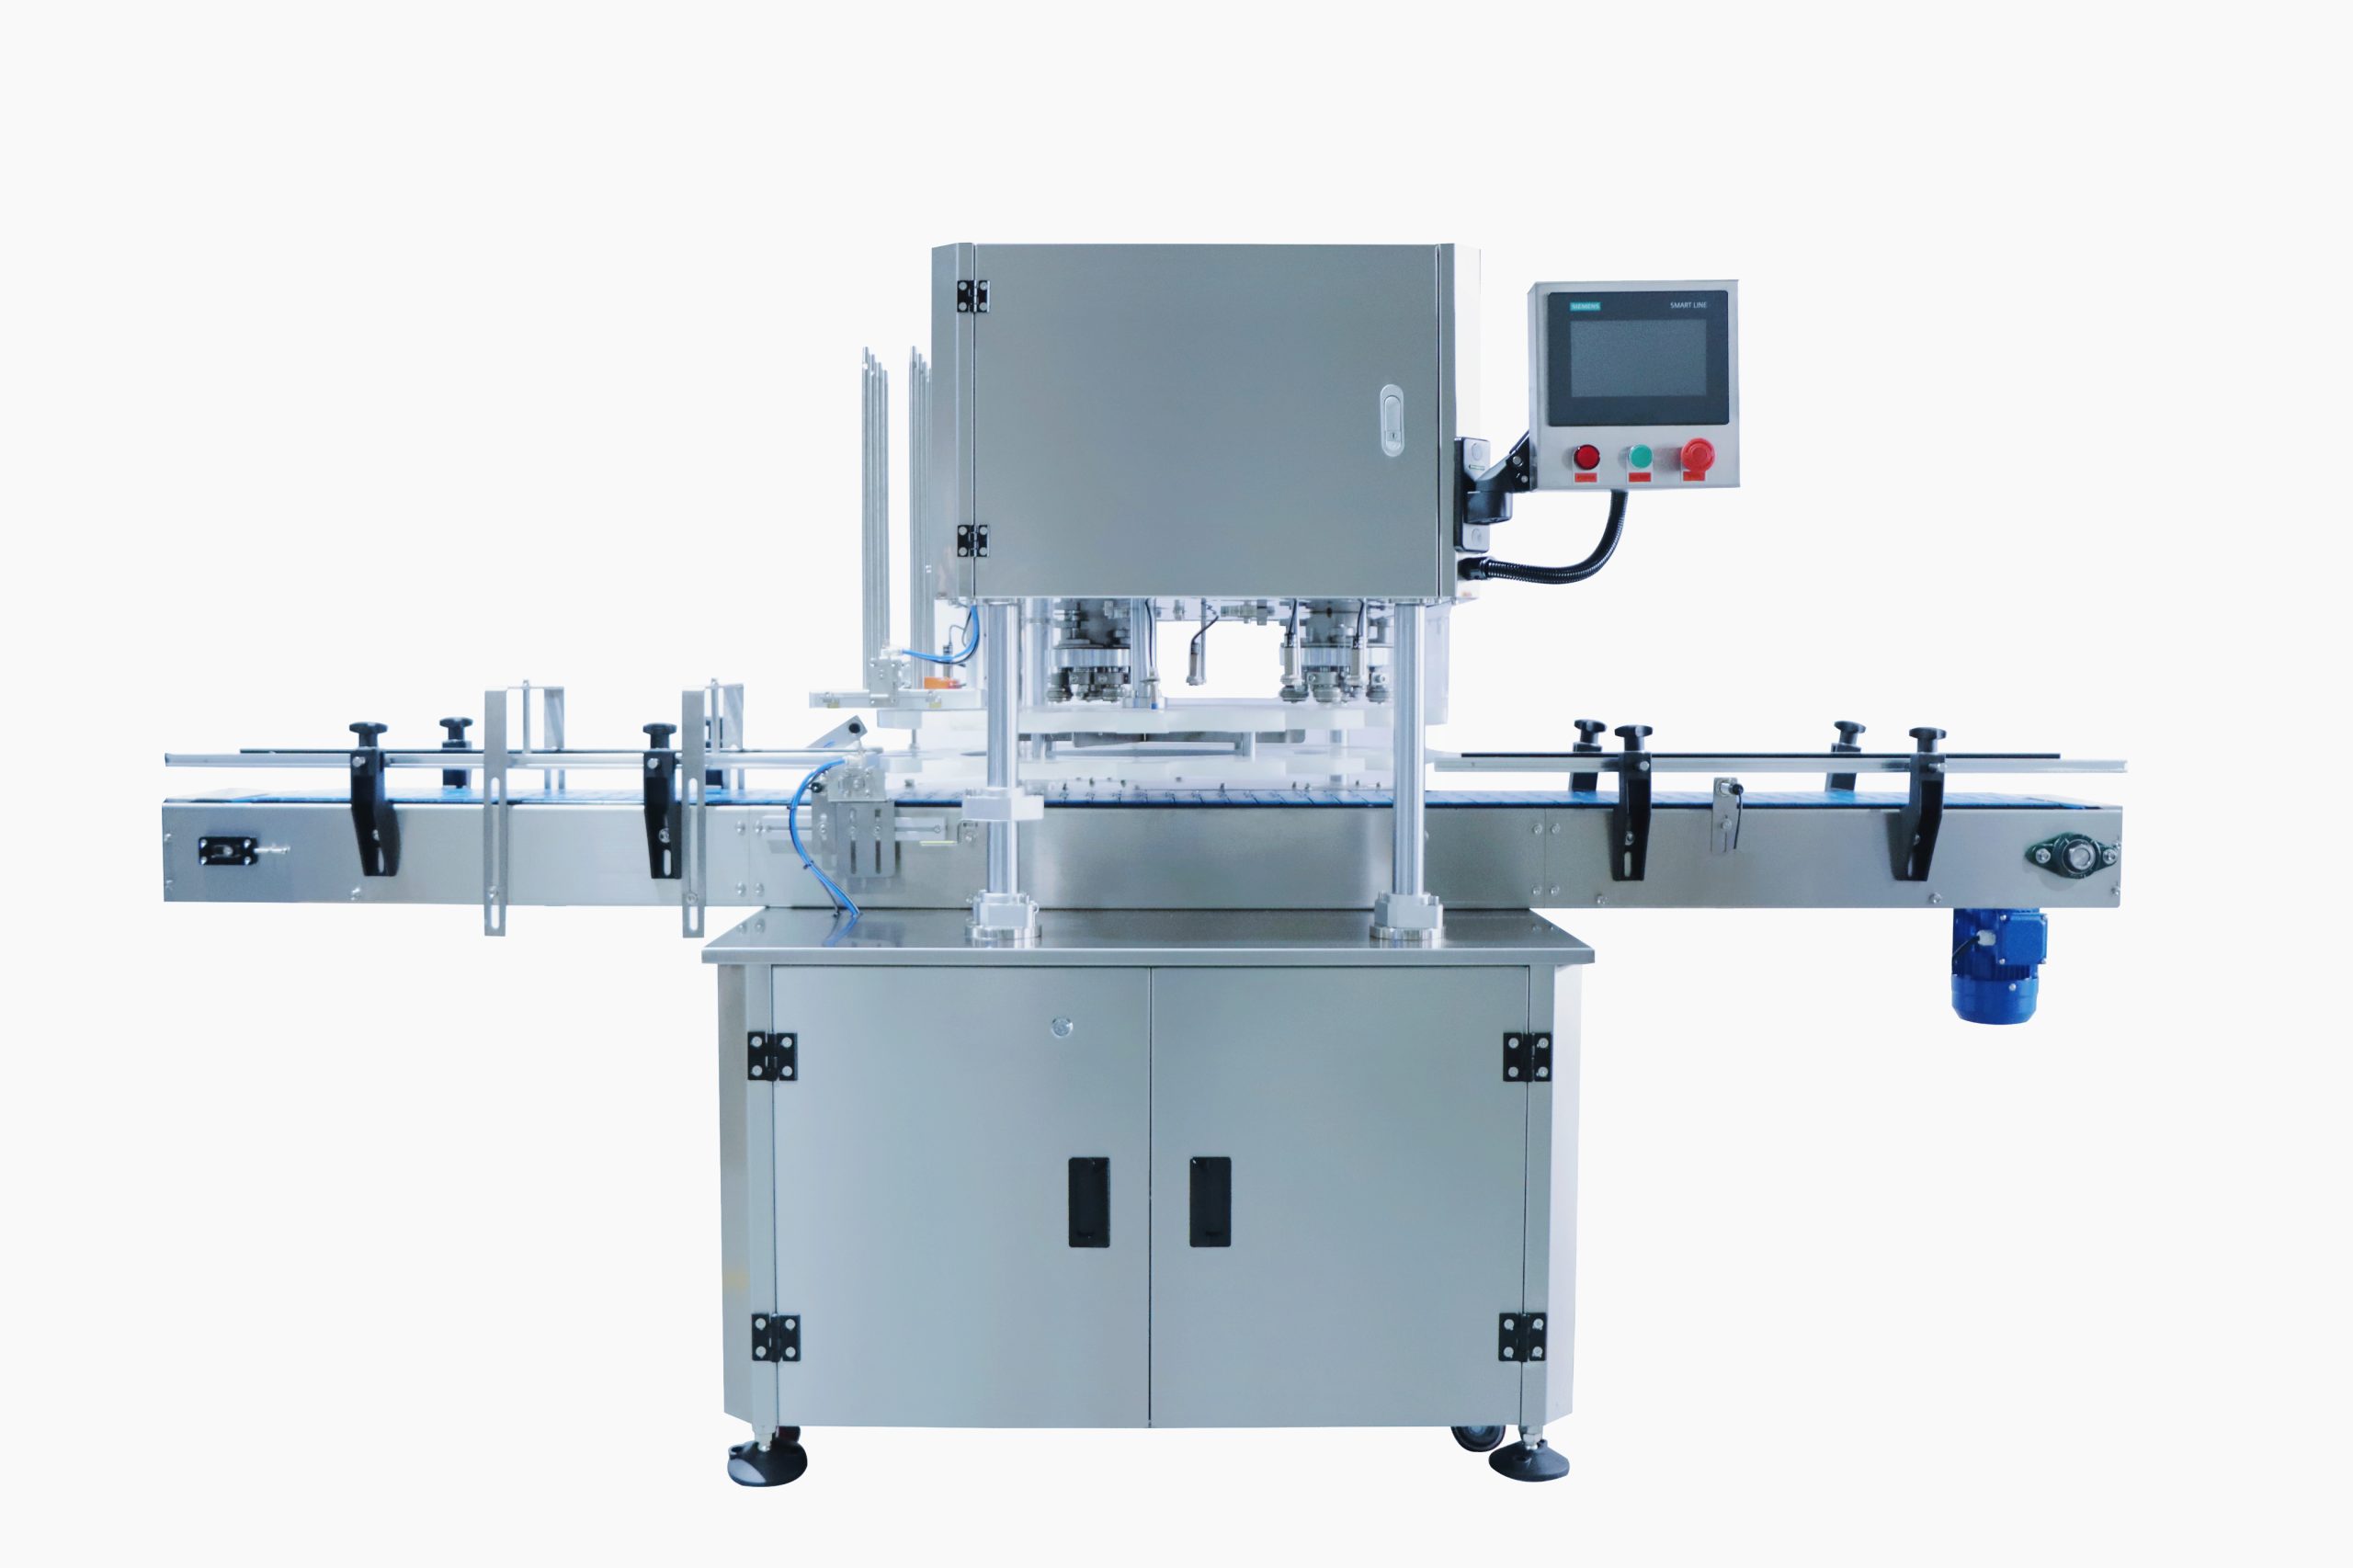
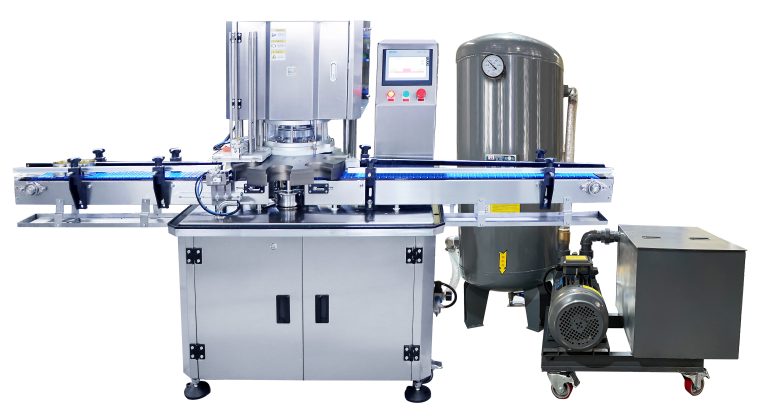
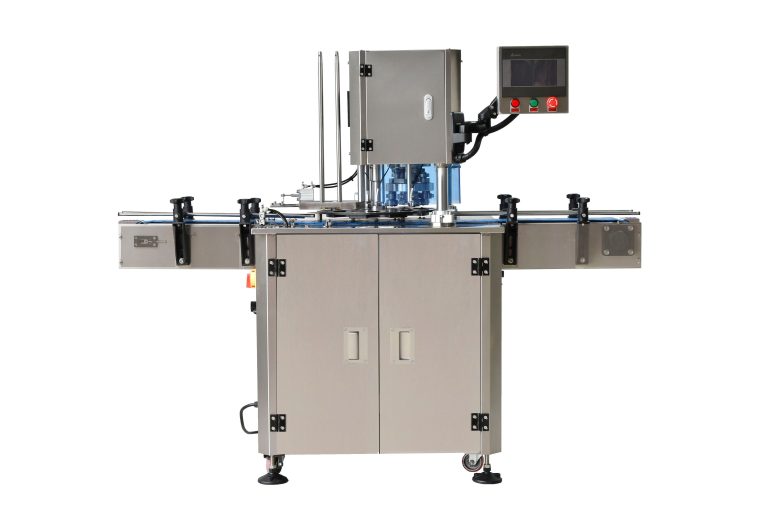
A can sealer is a crucial piece of equipment for anyone looking to preserve food for an extended period. This device is designed to create an airtight seal on cans, preventing air and moisture from entering and spoiling the contents inside. By using a can sealer, individuals can extend the shelf life of their food items, ensuring that they remain fresh and safe to consume for longer periods.
One of the primary benefits of using a can sealer for food preservation is the ability to store food for an extended period without the need for refrigeration. By creating an airtight seal, can sealers prevent the growth of bacteria and mold, which can cause food to spoil quickly. This means that individuals can store canned goods in a cool, dry place for months or even years without worrying about them going bad.
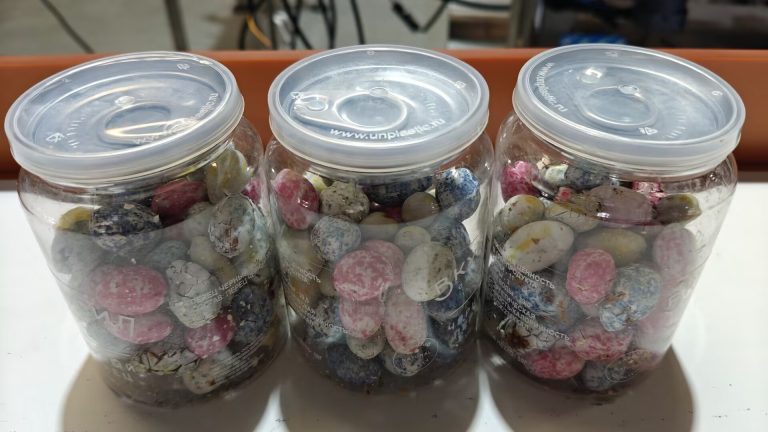
Another advantage of using a can sealer is the ability to customize the size and shape of the cans used for food storage. Many can sealers come with interchangeable dies that allow users to seal cans of various sizes, from small individual portions to large family-sized containers. This flexibility makes it easy to package food items in the most convenient and efficient way possible, reducing waste and maximizing storage space.
In addition to extending the shelf life of food items, can sealers also help to preserve the flavor and nutritional value of the contents inside. By creating an airtight seal, can sealers prevent oxidation and exposure to light, which can degrade the quality of food over time. This means that canned goods sealed with a can sealer will retain their taste, texture, and nutrients for longer, ensuring that they remain as fresh and delicious as the day they were sealed.
Furthermore, using a can sealer for food preservation can help individuals save money by reducing food waste. By sealing food items in cans, individuals can buy in bulk and store excess food for later use, rather than letting it go to waste. This can be especially beneficial for seasonal or perishable items that may not be available year-round, allowing individuals to enjoy their favorite foods whenever they want.
Overall, a can sealer is an essential tool for anyone looking to preserve food for an extended period. By creating an airtight seal on cans, can sealers help to extend the shelf life of food items, preserve their flavor and nutritional value, and reduce food waste. With the ability to customize the size and shape of cans used for storage, can sealers offer a convenient and efficient way to package and store food items for long-term use. Whether you are a home cook looking to stock up on pantry staples or a commercial producer looking to package goods for distribution, a can sealer is a valuable investment that can help you preserve food safely and effectively.
Step-by-Step Guide on How to Use a Can Sealer for Home Canning
A can sealer is a device used to seal cans for food preservation. It is commonly used in home canning to ensure that the contents of the can remain fresh and free from contamination. Can sealers come in various sizes and designs, but they all serve the same basic function of creating an airtight seal on the can to prevent spoilage.
Using a can sealer for home canning is a simple process that can be easily mastered with a little practice. In this step-by-step guide, we will walk you through the process of using a can sealer to seal cans for home canning.
The first step in using a can sealer is to prepare your cans and lids. Make sure that your cans are clean and dry before you begin the sealing process. It is important to use new lids for each can to ensure a proper seal. Place the lids on top of the cans, making sure that they are centered and secure.
Next, place the can sealer on a flat, stable surface. Make sure that the can sealer is securely in place before you begin sealing your cans. Most can sealers have a lever or handle that you will need to operate to seal the cans. Make sure that the lever is in the correct position before you begin sealing.
Once you have prepared your cans and lids and set up your can sealer, it is time to begin sealing your cans. Place a can on the base of the can sealer, making sure that it is centered and secure. Lower the lever or handle of the can sealer to press the lid onto the can. Apply firm pressure to ensure a tight seal.
After sealing the can, check to make sure that the lid is securely in place. You can do this by gently lifting the lid to see if it is firmly attached to the can. If the lid is loose, you may need to reseal the can using the can sealer.
Repeat the sealing process for each can that you are preserving. Make sure to follow the same steps for each can to ensure that they are properly sealed. Once all of your cans are sealed, you can store them in a cool, dry place until you are ready to use them.
Using a can sealer for home canning is a simple and effective way to preserve your food for long-term storage. By following these step-by-step instructions, you can easily seal cans for home canning and enjoy fresh, delicious food all year round. With a little practice, you will become a pro at using a can sealer and be able to preserve a variety of foods for your family to enjoy.
